::Shiny Dress::
| Welcome! This tutorial is a variation of Amy Roberts Shiny Dress Tutorial for PaintShop Pro. With her permission I have "translated" it for use with Photoshop. If you are a PaintShop Pro user, please check out her original tutorial here. In this tutorial we will use some of Amy's tips and tricks to create a shiny doll dress in Photoshop. I have edited this tutorial assuming that you know your way around Photoshop, if you don't know your tools very well, please read my Photoshop Crash Course tutorial first. NOTE: We are going to be using a Plug-in for this tutorial. Before you begin, you will need to download Harry's Filters from here & install them. |
||
|
 |
|
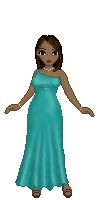
| 1.For this tutorial we will be using the same dress and doll that we created in the Silk Tutorial. Or, you could use any doll that you have made already and just want to add the shiny dress to. It's important that your dress already have the shading finished on it. Oh, since we are on Photoshop, make sure that your base and your dress are on seperate layers, if they aren't and you still want to practice this tutorial, you may use mine here and here. However this is only for practice purposes, if you take my doll and re-create the tutorial and claim it as your own work it's stealing my copyright, and this is against the law, so don't do it. This is only for practice. Your best bet is to make a doll fro, scratch, and when you are finished with the shading of her clothes, don't flatten/merge the layers and just continue on with this step. |
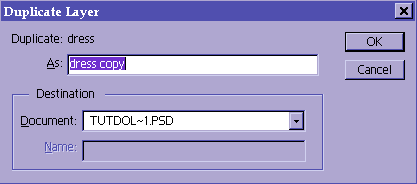
2.Go to Layer-->Duplicate Layer and click on OK. This is so we don't mess up the original shading. |
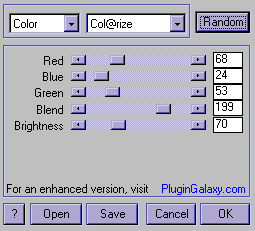
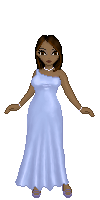
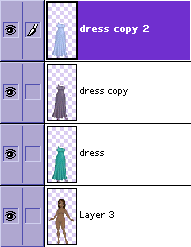
3. Go to Filter-->Harry's Filter and choose Color-->Colorize. Use the random button (this is what I did) until you get a fairly dark (but not black) color or play around with the sliders until you get a color that you like. If you'd like, rename the Dress Copy layer to the name of the color of the dress (dress dark purple). |
|
|
|
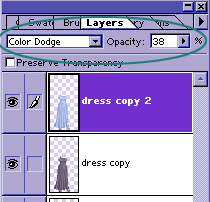
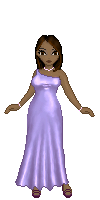
| 4.Duplicate the dress layer again and repeat Harry's Filter, but this time using a lighter color. | 5.Make sure that your layers are in this same order. The latest and lightest layer should be at the top. | 6.Change the layer blending mode to Color Dodge and drop down the opacity until you are satisfied with the way it looks. If you like the way the dress looks, you may leave it like this, if not, read on! |
|
|
|
|
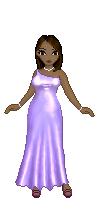
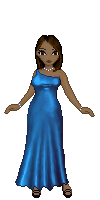
7. You can create as many layers as you want, and you can merge them and play around with them until you get a result you are happy with. Remember that your darkest color must be at the bottom and the lightest color at the top. You can have any variation of colors in between. This pearlesque was done by duplicating the dress copy layer yet again, and using Harry's Filter with this color. This pink layer was put in between the dark and light layers. |
8.This shiny dress was done the same way as all the rest... all I did was add yet another duplicate layer, and instead of using the Colorize, I went to Artistic-->Atmospherizer, out of all of Harry's Filter's, this is my favorite one. I used theRandom button until I got an effect I liked, then set the layer blending mode to Color Dodge and the Opacity to 20%. Then II went to Image-->Adjust-->Variations and used the Lighter settings | 9.Here is another variation. This one was done, once again, using a layer (dress copy 4) in between the darkest and lightest layers. Then I changed the blending mode to Mutliply and the opcaity to 80%. |

This is my finished doll. Hope this tutorial was useful! :) | ||